Launching the Campaign
Now that we have all the pieces setup, we can launch the campaign!
To create a new campaign, navigate to the Campaigns page and click the "New Campaign" button.
Most of the settings should be self-explanatory. The only thing to look out for is the URL field. we have the choice between many domain, it will be the domain where the link will lead. You can add new domain by clicking on 'Here", we have selected tech-support-demophishing.ovh, that's what we'll use:

Once all the settings filled, click "Launch Campaign" to start sending the emails!
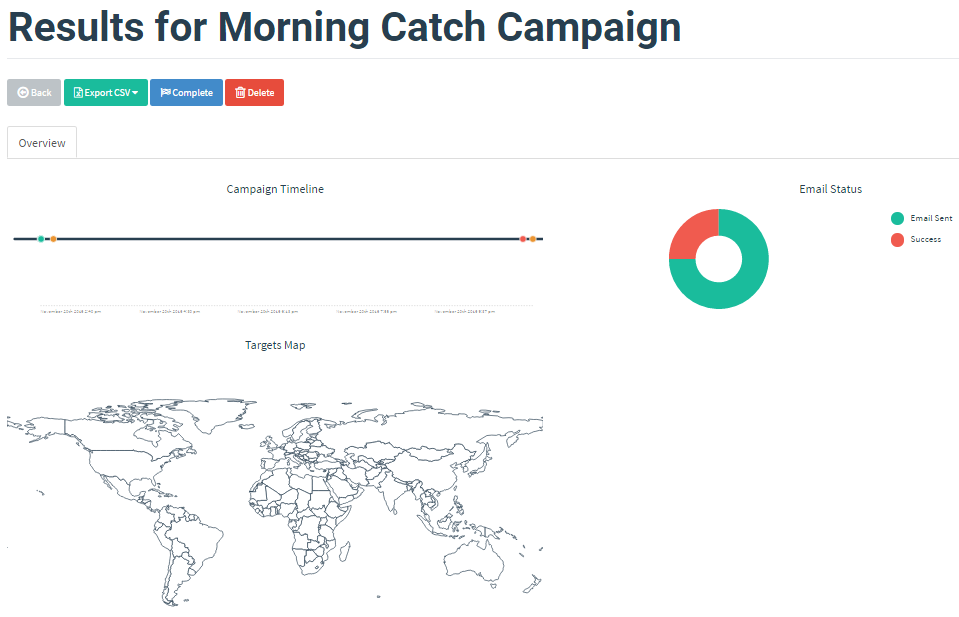
Viewing the Results
After launching the campaign, you will be automatically redirected to the campaign results page. This will give you a realtime view as emails are sent, opened, and links are clicked.
Congrats on running your first campaign!
Last updated